Recently, I asked my followers what they’d like to read about next, and the most popular response was how to do your own photo session at home. And instead of just pulling photos from Pinterest or showing you some past in-home sessions I’ve done for clients, I decided to actually do a home session with my own family—so it would feel fair, real, and easier to explain.
I wanted to show exactly what’s possible using my own experience—how your photos can turn out, and how you can do it too. That way, I’m not just telling you what to do, I’m showing you how it looks when it’s done in real life, in a regular home, with natural light and a bit of patience.
At first, this whole idea might seem a little complicated—but it’s really not. Yes, there are a few things that might limit you, like needing a tripod and either a camera or your phone. And yes, you’ll need a bit of patience. But once you start, it becomes pretty simple.
Before every photoshoot—whether it's for a client or myself—I always take a moment to think about what I want to show in the pictures. What story do I want to tell? For this session with my family, I wanted to show our basic, everyday life. My playful and very gentle kids—full of love and also a little crazy at the same time. I wanted to capture their innocent, sweet approach to the world, and our love as a family.
For the group photos, I set up my camera on a tripod and connected it to my phone. That way, I could set a timer for the exact amount of seconds I needed before the camera took a shot. I pressed the shutter button from my phone, put the phone away, and just got into the moment—whether we were reading a book, playing, or simply smiling together. The camera did its thing while we enjoyed the moment.
If you're using your phone instead of a camera, it works the same way. You can use a remote control or connect your phone to a timer or a camera app.
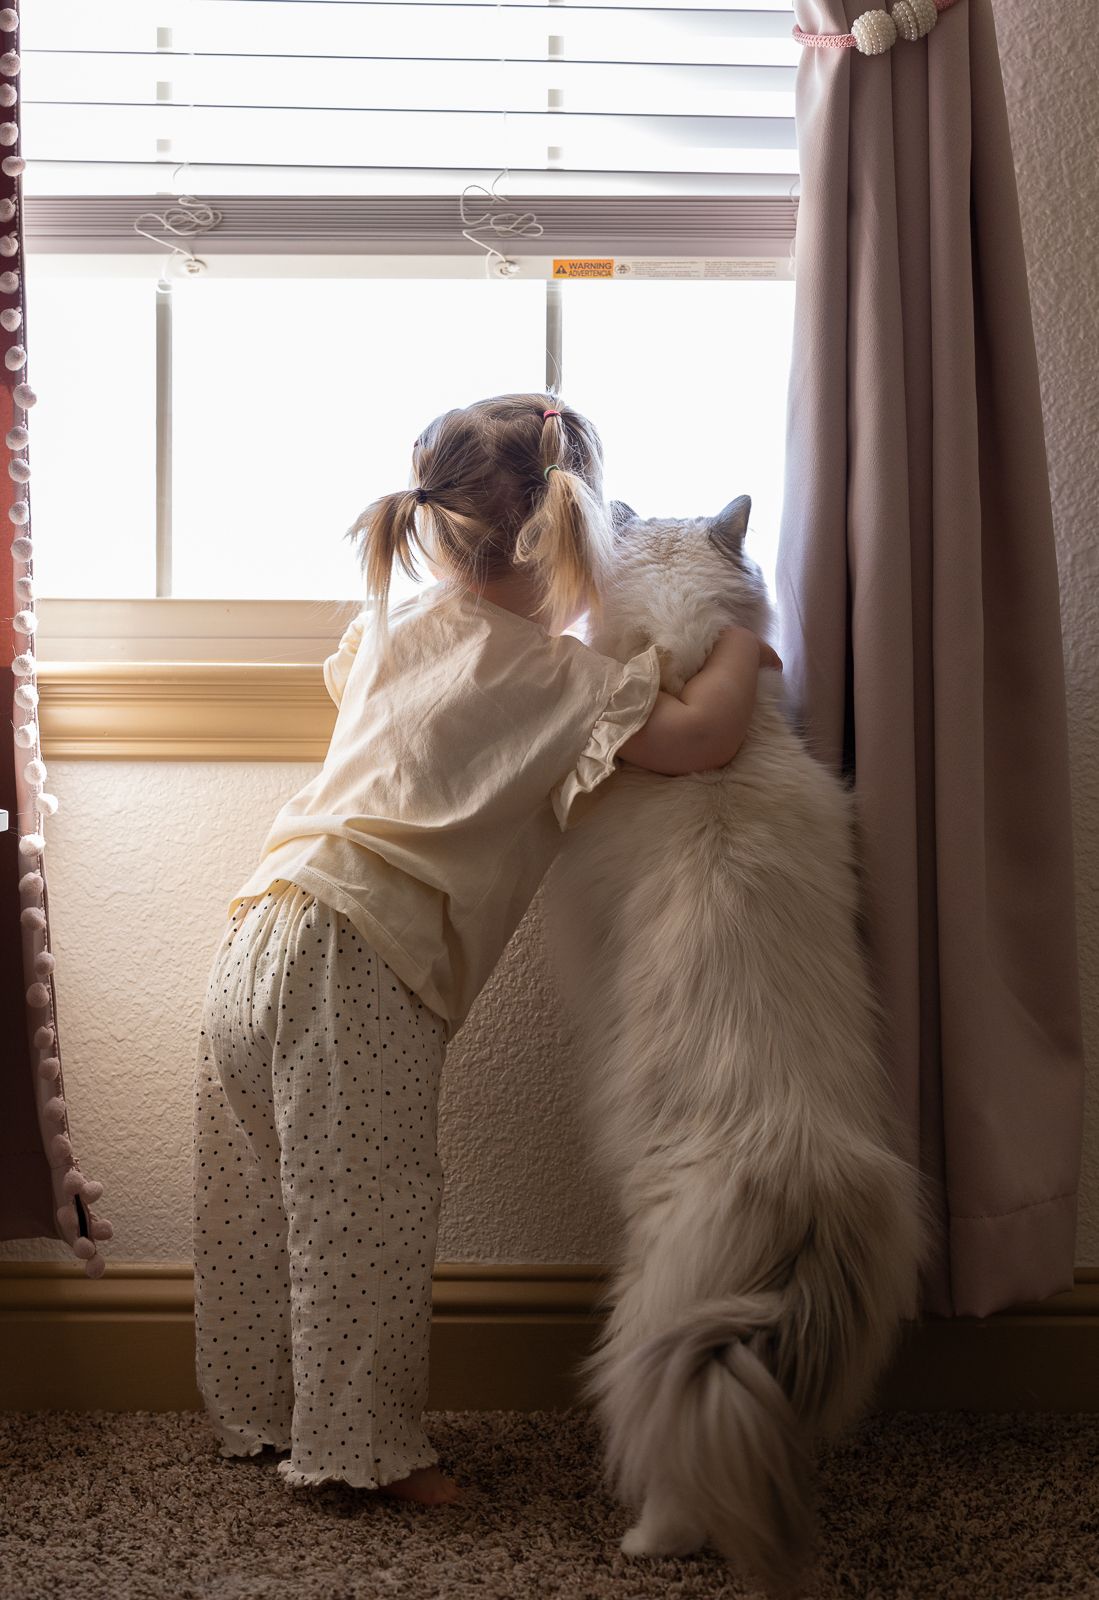
Now, when I wasn’t in the photos—like when I just wanted to capture the kids playing together or a sweet moment with our fluffy cat—I took the camera off the tripod. I walked around, got closer, and captured those candid little moments that happen naturally when no one’s posing. Then I just popped the camera back on the tripod when I needed it again. Easy.
The tripod I used is from Amazon and cost around $20. It’s not expensive at all, but it’s been incredibly useful, and I’ve used it for both my phone and my camera.
So if you’re thinking about trying your own DIY photo session at home, here are a few simple tips that might help:
1. Find good light.
Choose a room with natural light—like near a big window. I opened the curtains in our daughter’s room and let the soft daylight in.
2. Keep it simple.
You don’t need a studio setup. This is where the pure magic of home photos lives. This is your space, your heart is here. Just pick one cozy corner or room and let your home be the background.
3. Let the kids be themselves.
Some of my favorite moments were when we were all just being ourselves—playing, reading, snuggling. That’s where the emotion comes through.
4. Don’t worry about perfection.
These photos are about memories—how you feel in the moment, what you want to remember and pass on. Not perfection. Embrace the little messes, the movement, and the real-life details.
5. Get in the frame.
You deserve to be in your family’s story too. Don’t hide behind the camera—set it up and get in there.
I’m sharing some of the photos from our session because I want to show you that it’s absolutely possible. You don’t need to be a professional photographer to capture something beautiful and meaningful. You just need light, a little time, and a willingness to try.
And of course, if you ever want something extra special and don’t feel like doing it all yourself—I’d love to capture those moments for you. But until then, don’t be afraid to document your everyday life. There’s so much beauty in it.